Wondershare Filmora X Overview
A good video editing software can help the user produce high-quality content and gain more engagement online. But this software comes packed with advanced features and is often expensive. Due to this, many people hesitate to invest in such tools, especially beginners. The market is full of video editing software, and it includes some exceptional ones, like Wondershare Filmora X.
Wondershare Filmora X is an advanced video editing software that anyone can easily use on Windows and macOS. This video editor provides many advanced features at an affordable price. Some advanced features are listed below –
Cut and split the videos or combine different video sections to make a more extended clip. Crop, zoom or adjust a specific part of the video using a motion tracker. Customize animation by using keyframes. Rotate video and adjust its playback speed. Motion stabilization feature to remove any distracting movement. Volume adjustment to remove background noise or tone back the loud parts using audio ducking. The user can also extract the original audio and replace it with another one. Video conversion into different formats, including MP4, MOV, M4V, and FLV. Advance color correction plus color matching feature for better video editing.
The Silence Detection Add-on
Shooting a picture-perfect video at once isn’t possible. An original video can contain awkward silences, pauses, and sometimes even background disturbances. Removing them from the video can consume a lot of time and become tiresome if done manually. To overcome this problem, Wondershare Filmora X has introduced a new module tool called Silence Detection add-on. This independent paid add-on or module tool doesn’t come with a Wondershare Filmora X subscription pack; instead, the user has to buy it separately from the website to use. The Silence Detection add-on can automatically detect silent pauses or dead air and remove these segments from the original video. It makes editing faster and the video more engaged for the audience. This tool is presently available only for Windows devices.
Benefits of Using the Silence Detection Add-on
1. Make video editing easier.
Detecting and editing dead silence manually in the video can become a tiresome process, especially for a long video. But Silence Detection can make work easier by automatically detecting silent segments of the video.
2. Save time while editing the video.
Video editing can consume a significant amount of time for any beginner or expert content creator if done manually. To overcome this problem, use this new paid add-on Silence Detection. It can automatically detect silent segments in the video and remove them to make video editing faster and more fun.
3. Keep the audience engaged.
The audience will only watch a video if it is entertaining enough. But a content creator can also lose his audience if the visual presentation is not good enough and have long silent pauses. Silence Detection, an easy-to-use paid add-on, will detect everything from broken audio patterns to silent segments and cut them out of the video. It will make the video more interactive and engaging to watch. Recommended readings:
How to make a good YouTube video How to create professional videos for Instagram 4 Tips for video blogging success that you must follow
Steps to Use Silence Detection Add-on
As it is an audio editing tool, it only works on video that contains audio segments. Follow the step-by-step guide below to start the process –
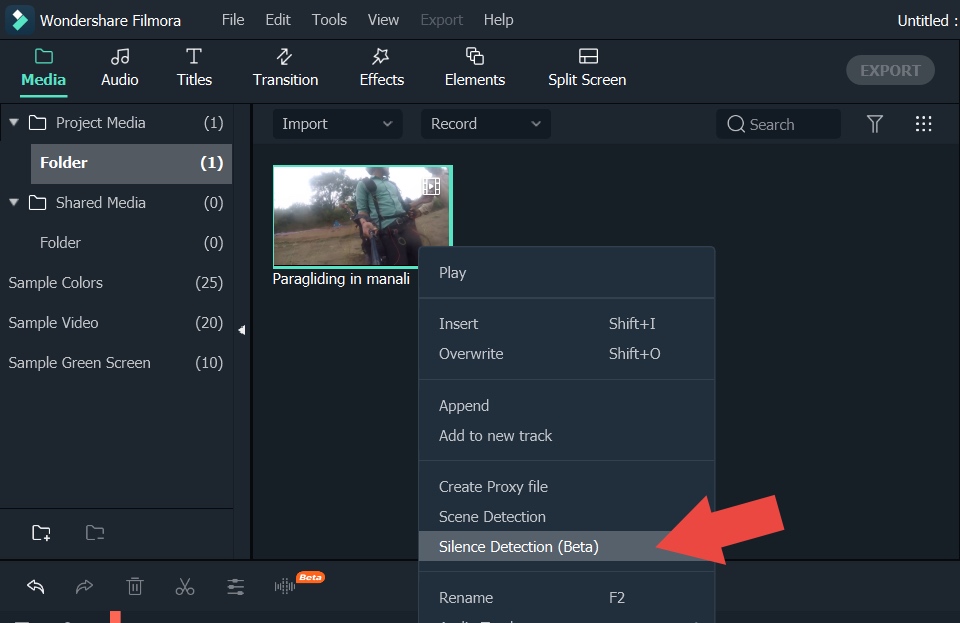
Step 1: Import the video and select the Silence Detection option
Open Wondershare Filmora X and click on ‘import’ to import a video.
Right-click on the video and choose the Silence Detection option.
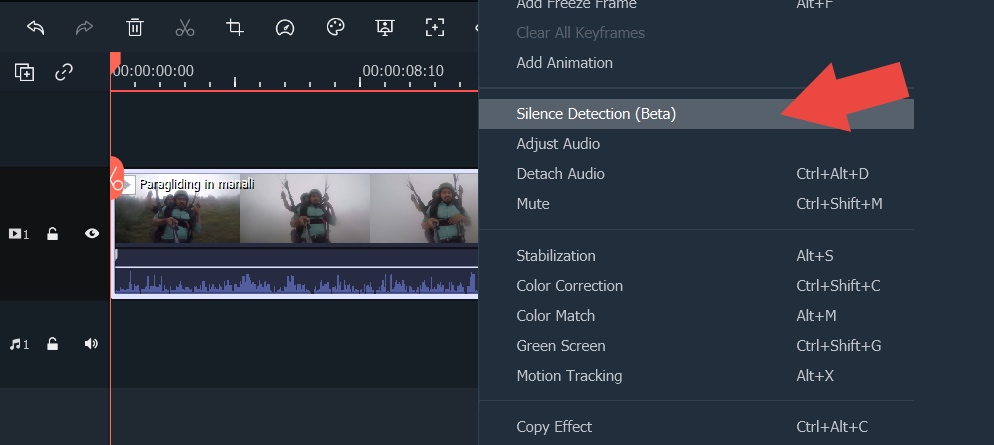
Alternatively, the user can drag and drop the video in the timeline and then right-click on it to see the Silence Detection option.
The user can also use the Silence Detection tool from the toolbar when a video is in the timeline.
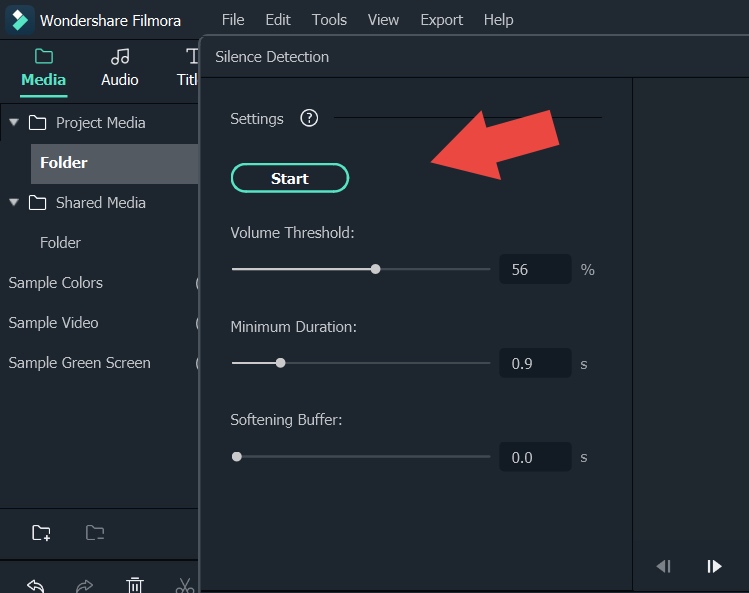
Step 2: Silence Detection settings
Once the user clicks on the Silence Detection option, a new window will pop-up with the following settings –
Threshold Minimum Silence Increase Buffer
Step 3: Start auto-analysis of audio and detection of silent parts.
After adjusting audio settings, click on the start button to auto-initiate the Silence Detection process. Once done, the user will find black and highlighted segments on the timeline. The black sections indicate the silent or low sounding segments. Highlighted sections display audible parts of the video.
Step 4: Preview the video and check
Play the video to verify the changes and deleted parts. The user can re-adjust the audio settings and restart the auto analysis process if not satisfied with the previous result.
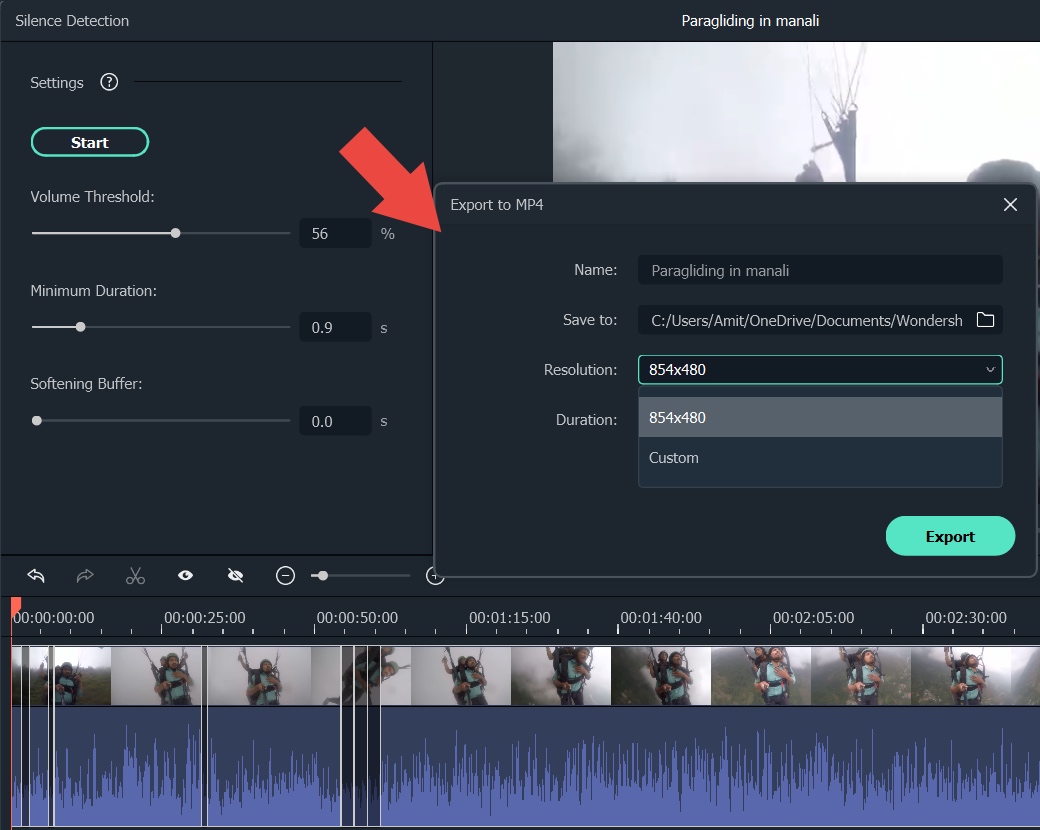
Step 5: Export files
Export to Local The user can export the video file (if satisfied with the result) to any of his local folders.
Click on ‘Export to Local,’ and a new window will open up. Here, the user can change the video name, location, and resolution of the edited video.
Click ‘Export’ to save the edited video (without silent segments) in the local drive.
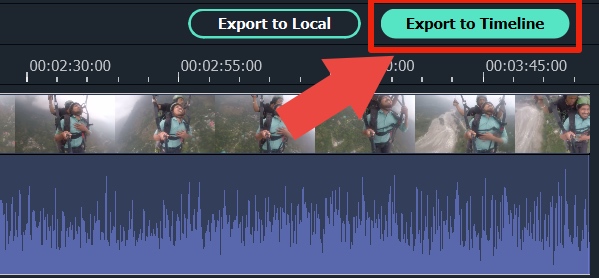
Export to Timeline Alternatively, the user can opt for the ‘export to timeline’ option to keep editing the video. This option will take edited video (without silent segments) to the Filmora timeline.
Q1. Can the user make changes to the parts removed by Silence Detection?
Yes, the user can make changes to the video by manually trimming or shortening the segments on the Silence Detection timeline.
Q2. Is Silence Detection compatible with both Mac and Windows?
The new paid add-on is only available for Windows systems.
Summing-up
Video editing tools allow the users to create more engaging and entertaining content without wasting time on editing. Silence Detection is an independent add-on module for the Wondershare Filmora X video editor. This tool is not available in any of the editor’s subscription plans, and the user has to purchase this module separately. But before that, the user can try the 7-day free trial and look at the differences himself. For more information, please visit here.